This week I was doing a lot of research on fun Father’s Day party ideas. You can browse what I found on our Pinterest.
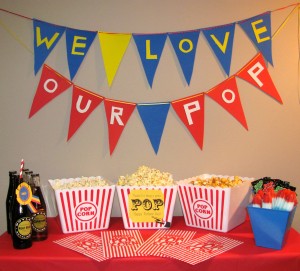
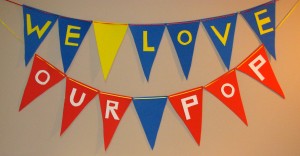
One trend I noticed was a play on the affectionate name “Pop” but most were only playing on one item like popcorn, soda pop, popsicles, etc. I decided to put them all together to create a refreshment bar for the perfect Pop. This is a fun and easy design and creating it yourself would be a great way to spend a Saturday afternoon with the kids before surprising your special Pop.
Here’s how I did it:
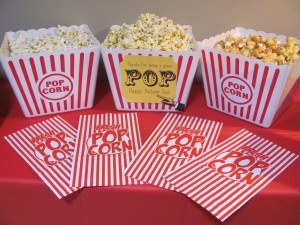
I bought the popcorn bowls, popcorn bags, blue tins and tablecloth at the Dollar Tree.
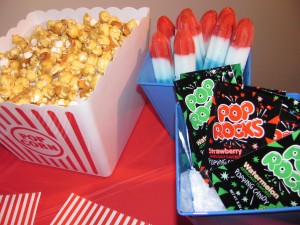
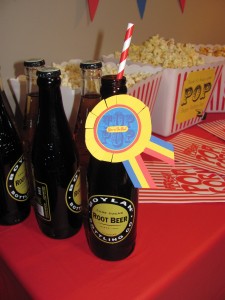
The treats came from my local grocery store. I made butter, white cheddar and carmel popcorn, but you can mix and match depending on your Pop’s tastes. A nice touch would be to find glass bottles of your Pop’s favorite soda pop.
I found the free printable soda pop ribbon at 2 Clever Blog.
The free printable label for the popcorn bowl came from My Cotton Creations.
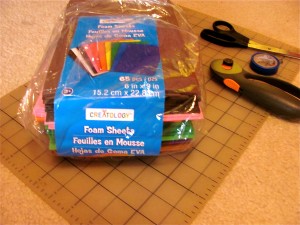
The banner can be made with many different materials. I used some foam sheets I had lying around. The DIY instructions are below.
DIY “We Love Our Pop” Banner:
Materials
Foam Sheets
Ribbon
Tacky Glue
Electrical Tape
Circular Blade or Box Cutters
Scissors
Cutting Board
Sharpie
Hole Punch
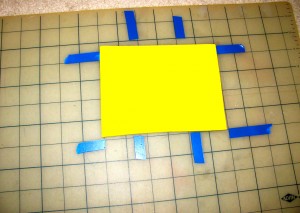
Step One: Used the electrical tape to make a pattern to cut the foam into triangle flags. Tape down the bottom edges of the foam sheet to keep it from moving when you cut.
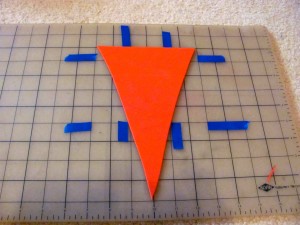
Step Two: Use the circular blade (or box cutters) to cut out the triangle flags.
Step Three: Place the triangle on the cutting board and use the measurements to create a guard to cut out the letters to right size with electrical tape.
Step Four: Used the sharpie to draw each letter on the foam sheet. I inverted the letters and then flipped it around when I was done so the marks wouldn’t show.
Step Five: Glue the letters onto the triangle flags. Let dry.
Step Six: Use the hold punch to punch a hole on the top two corners of each flag.
Step Seven: String the ribbon through each flag. I used cute polka dot ribbon, so I threaded the ribbon on top of each flag to show it off.